Searching an online store and finding the perfect product variant can often be a tedious task for customers, leading to cart abandonment or unsatisfactory purchases.
What if there was a way to offer a personalized shopping experience, letting customers visualize and customize their purchase before hitting that 'Buy Now' button?
An online product configurator is a dynamic tool that allows customers to customize products to their exact specifications and see real-time product visualizations.
It addresses the pain point of choice overload by enhancing user experience and offering tailored solutions. This article aims to guide you through a step-by-step process of creating an effective product configurator using involve.me, a no-code builder, ensuring you capture your audience's attention and drives sales.
Step 1: Choose a Template
Visit involve.me and sign up. The process is user-friendly, ensuring you're set up in minutes.
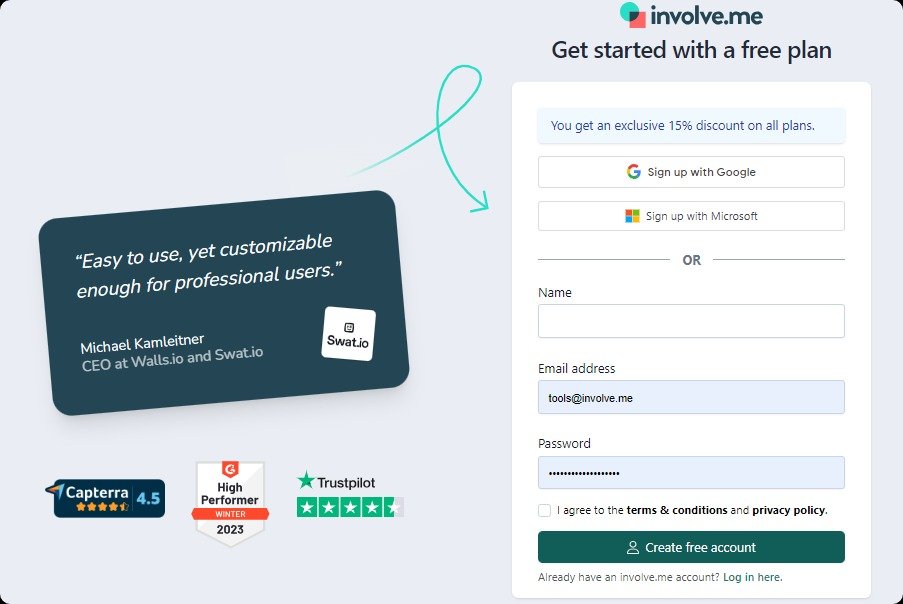
Once registered, you'll land on an intuitive interface. Here, you can view existing projects, access various features, and of course, select templates.

You can either start from scratch, letting your creativity run wild, or lean on one of their expertly designed pre-built templates.
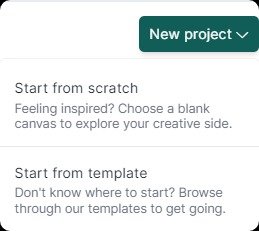
For our purpose, we're interested in the 'Product Configurator' category. I am customizing T-shirt configurator template as an example.
Create Your own Product Configurator
Get Started with 200+ Templates
What Mattress Is Best For You? Template
Glasses Recommendation Funnel Template
Product configurator with shipping Template
Step 2: Select Project Type
The next step is to name your project and select the project type.
There are three primary categories to consider: Answer-based, Score-based, and Thankyou page projects.
Each project type serves a unique purpose.
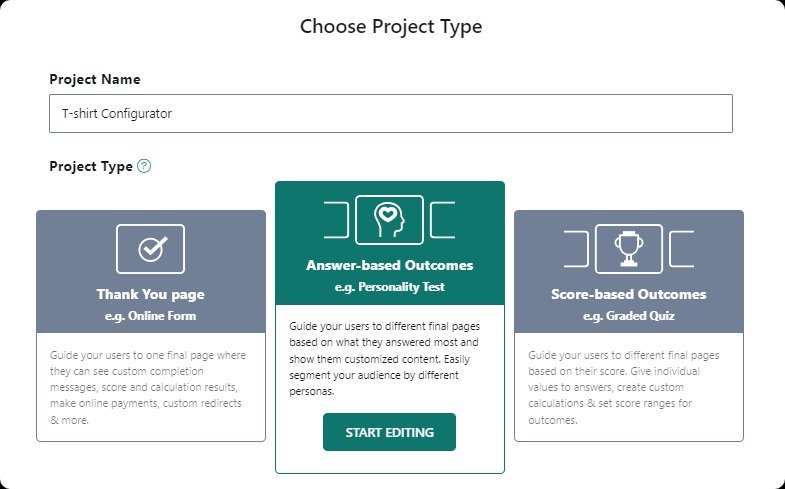
Answer-based projects focus on the customer interaction provided by the users and guide them according to customer preference.
Score-based projects tally up scores based on user inputs, making them perfect for quizzes or evaluation tools.
On the other hand, Thankyou page projects are geared towards offering a simple acknowledgment towards the user after they complete a certain action on the site.
For 3D product configurators, this makes buying process interactive and personalized and ensures that online customers feel involved in the product configuration process, fostering a deeper connection with your e-commerce business.
I am choosing Thank you page project type for my product configurator to convey gratitude and, while also steering users smoothly towards completing their purchase.
Step 3: Customize the Design
First impressions matter immensely, and it's the design that often casts the first spell on a visitor. Customization isn't just about aesthetics; it's about communicating your brand's identity, values, and promises through visual cues.
Within involve.me, you have the freedom to play with content elements. You can modify fonts, change backgrounds, incorporate brand-specific colors, and even adjust layouts. The objective is simple: to ensure that every aspect of your 3D product configurator reflects the e-commerce brand it represents.
Step 4: Add Questions
The questions you present in your project serve as milestones, shape the online sales process and ensure the end product is a reflection of the user's desires.
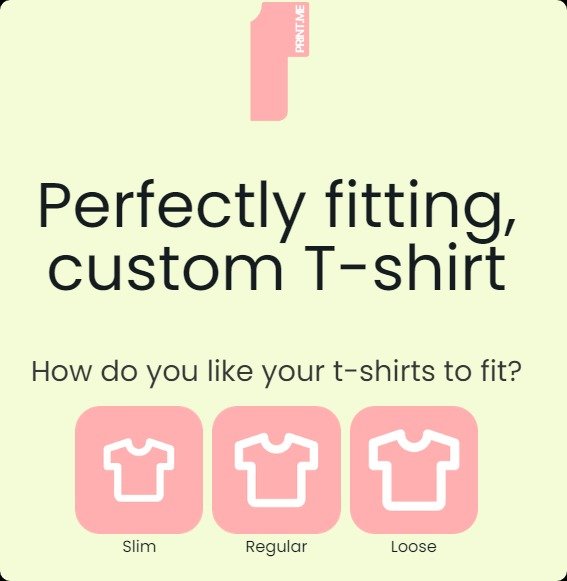
Start by addressing the shirt's fit. Offer choices such as slim, medium, and loose through a multiple-choice question. This simple click lets users define their comfort and style.
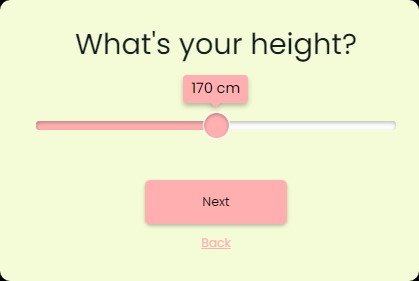
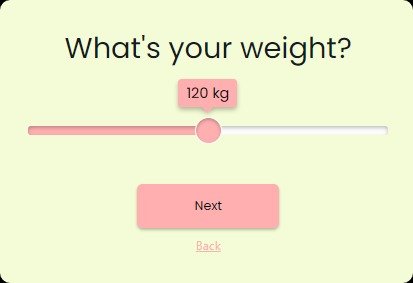
Next, you can introduce sliders to capture user height and weight and tailor the t-shirt for the individual's physique.
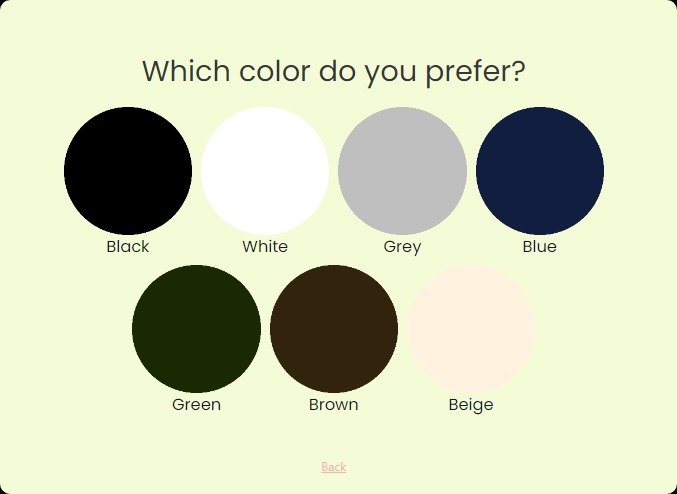
The aesthetic appeal of the T-shirt primarily lies in its color. Here, you can add an image-based question. Instead of just listing out color names, you can showcase swatches or actual T-shirt high-quality images in various shades, allowing users to visually select their favorite.
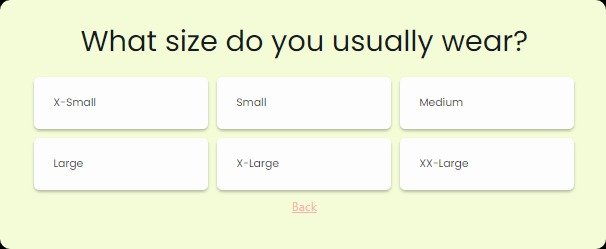
Now, ask about the size. Provide product options from S to XXL to ensure every user finds their desired fit.
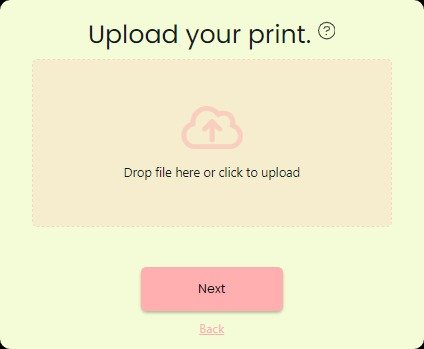
For those with a distinctive design in mind, include an upload feature. This lets users share their specific print or design, adding a personal touch to their T-shirt.
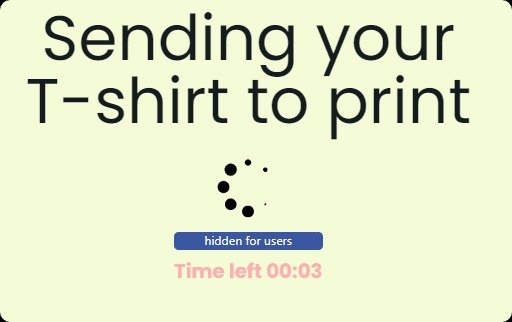
You can also introduce a hidden page timer. This brief interval builds anticipation, signaling that you're processing their custom print request.
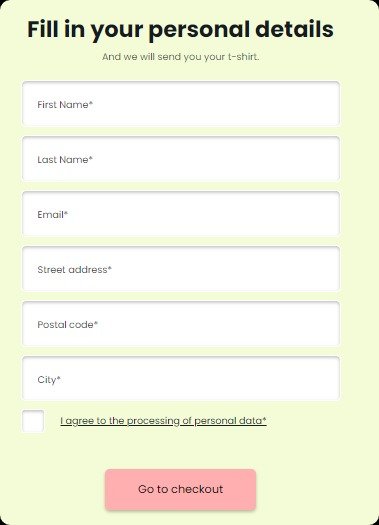
Lastly, add a contact from to seal the deal. Capture essential details like name and email address and, by incorporating a checkout button, you pave the way for a potential purchase.
Step 5: Add a Payment Option
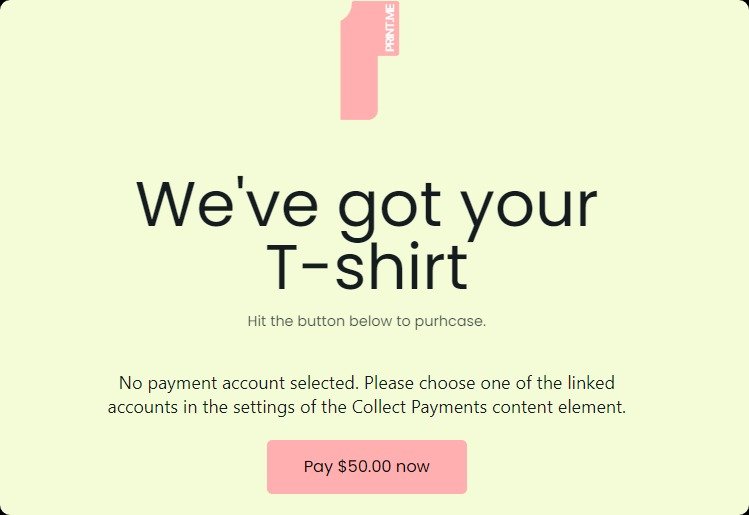
I will now embed the payment option on the 'Thank You' page. This placement ensures that users complete their product customization unhindered and, once satisfied with their choices, can immediately proceed to payment. It streamlines the buyer journey, presenting payment as the natural next step after expressing gratitude for their custom selection.
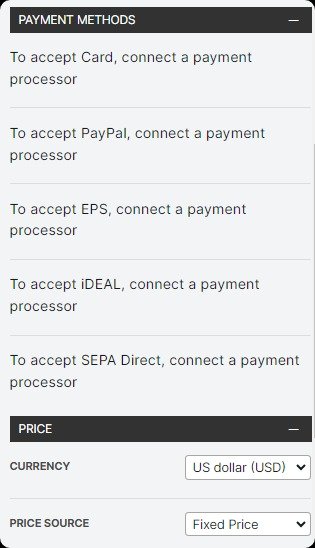
If you want to cater to a diverse range of users then it is important to show flexibility in payment methods. Thankfully, involve.me supports an array of established payment platforms, such as PayPal, Stripe, and Square, so that every user finds a familiar and comfortable method to proceed with.
You also have the option to choose dynamic or fixed price, I've chosen a fixed pricing model for the custom shirt.
There are no surprises or hidden costs based on customization choices. Every user, regardless of their specific customizations, will know the exact amount they're expected to pay from the get-go. This straightforward approach can boost sales by reducing potential friction and encourages users to complete their purchase without second-guessing, ultimately enhancing conversion rates.
Step 6: Preview and Publish
Before going live, previewing ensures that your configurator functions smoothly and appears as intended. This step allows for any final changes, guaranteeing an engaging experience for customers. Once satisfied, publish the configurator to invite users to start their personalized shopping journey.
Step 7: Share and Embed Your Quiz
Maximizing the reach of your e-commerce product configurators is crucial to garner more customer engagement and potential sales.
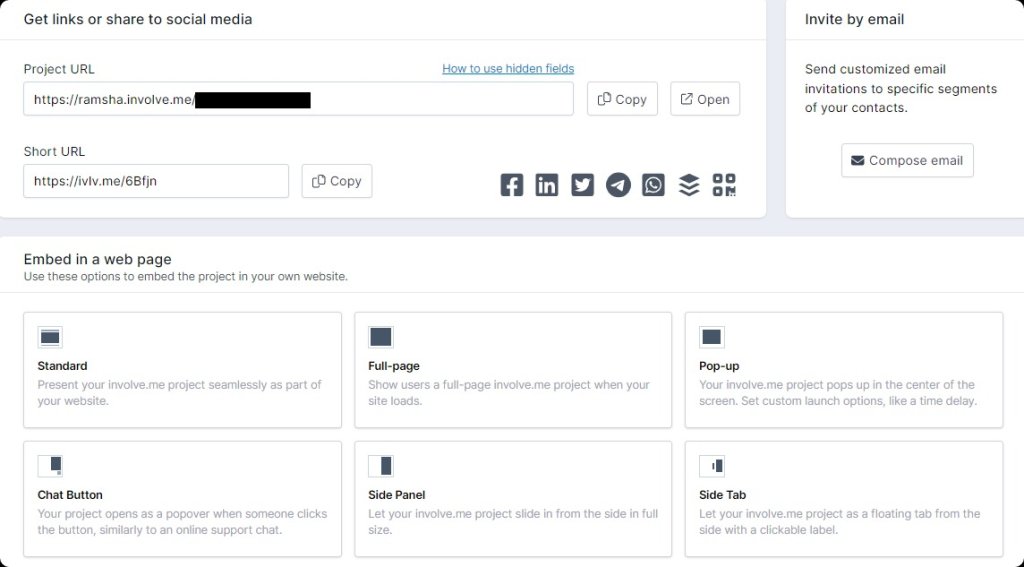
With involve.me, you can effortlessly share your configurator on social media platforms, embed it directly onto your website for seamless integration, or even utilize QR codes for offline-to-online user redirection.
Step 8: Integrate with Email Marketing Tools(Optional)
Sometimes, users might interact with your configurator but might not complete a purchase. Email marketing allows you to retarget these users, sending them gentle reminders of the configurable products they showed interest in or offering them special discounts to nudge them towards a purchase.
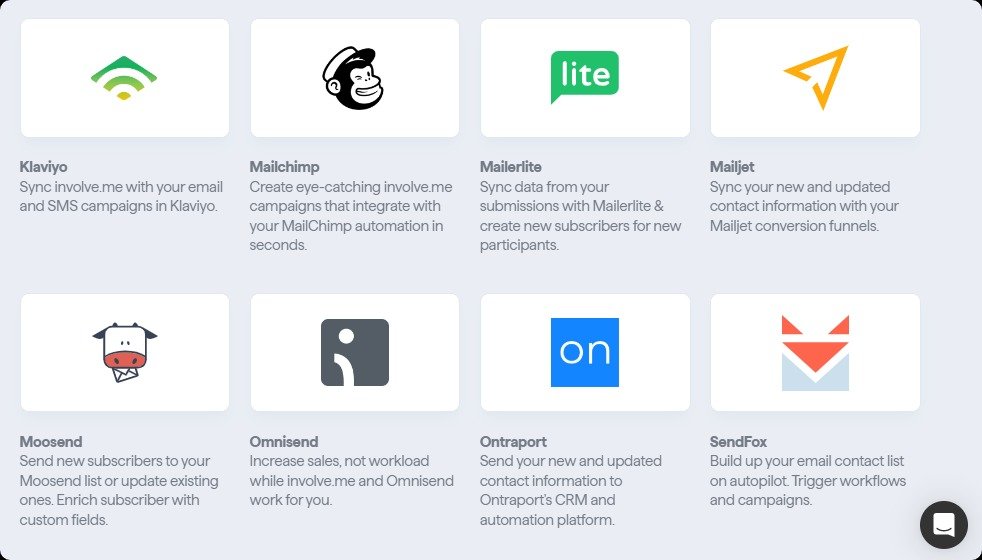
involve.me seamlessly integrates with many popular email marketing platforms. Whether you use Mailchimp, ActiveCampaign, GetResponse, or other leading tools, it facilitates a direct data exchange between the systems. When a user engages with your 3D product configurator, involve.me instantly captures their data and channels it into your email marketing platform, priming it for segmented and tailored email campaigns.
Final Words
So now you know how easy it is to create your own product configurator and embed it on your favorite platforms. This dynamic tool enhances the buying process, ensuring higher conversion rates and deeper customer satisfaction.
In a world where customization is king, don't get left behind.
Why not start today? Jump into involve.me and craft the personalized shopping experiences your customers truly deserve!


