You might have heard of a sales funnel (if you haven’t, check out my video about Funnels and Flywheels), but a review funnel is a wonder only a select few are familiar with.
Let me open the ancient gates to… no. Let me unveil the secret magic of… let me just show you how to make a funnel. A review funnel, to be specific. It's, like, really cool. Saves you a lot of time.
What’s a Review Funnel?
A review funnel is basically a really smart survey. It does most of the work for you. It can identify happy customers as well as unhappy customers and put them in different buckets.
Once in these buckets, you can send people to different places. Happy customers can get an incentive to leave a review somewhere public, like TrustPilot, Amazon or G2Crowd, whatever floats your goat.
Unhappy customers can still leave their feedback, but you keep it to yourself. You keep it internal. Conceal, don’t feel, don’t let them know ❄️️ You and only you can see where things went wrong and use that information to improve your business.
Sounds genius, now how do we set this thing up?
I’m going to build the whole thing from start to finish. I’m aiming for it to take less than 10 minutes, so if the video is longer, that means I failed. Thoughts and prayers for editing Bobbie.
Step 1: Grab a Free Survey Template
Get Started with Online Surveys
With One Of Our 300+ Templates
Inflation Calculator Template
Customer Onboarding for Energy Industry Template
Commission Calculator Template
Demo Booking Form for Software Template
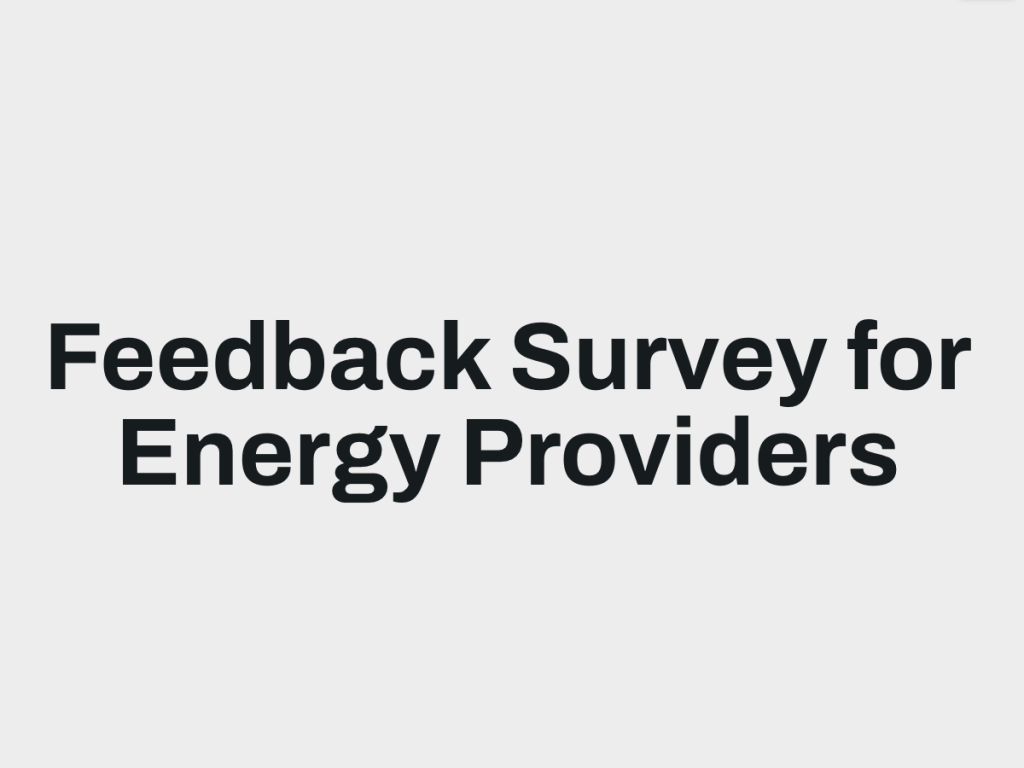
Feedback Survey for Energy Providers Template
Employee Referral Form for Software Template
Did I mention this is free? Because it is. I’m going to involve.me and picking this one from their template gallery
Step 2: Customize the Design
I can make this template match my brand completely. I can add my logo like this, I can change the background, button roundness, font… I can even upload my own font.
(in the screen recording make sure to change the color of the content card, the numbers in this template change colors too, it looks smarter than what it is)
Step 3: Customize the Functionality
Once I’m happy with the design, I can move on to setting up where everything goes. So I am asking two questions here.
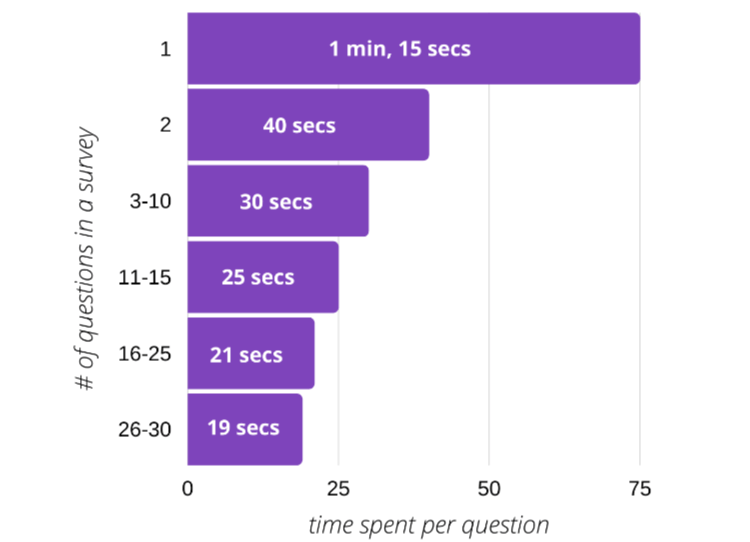
Fun fact, the more questions you ask, the less time people will spend answering each of them. So if you want honest, in-depth answers, ask fewer questions.
Back to my questions. This is an open ended question, which mean people can type in anything they want to. This is something I cannot automate, because everyone will write something different.
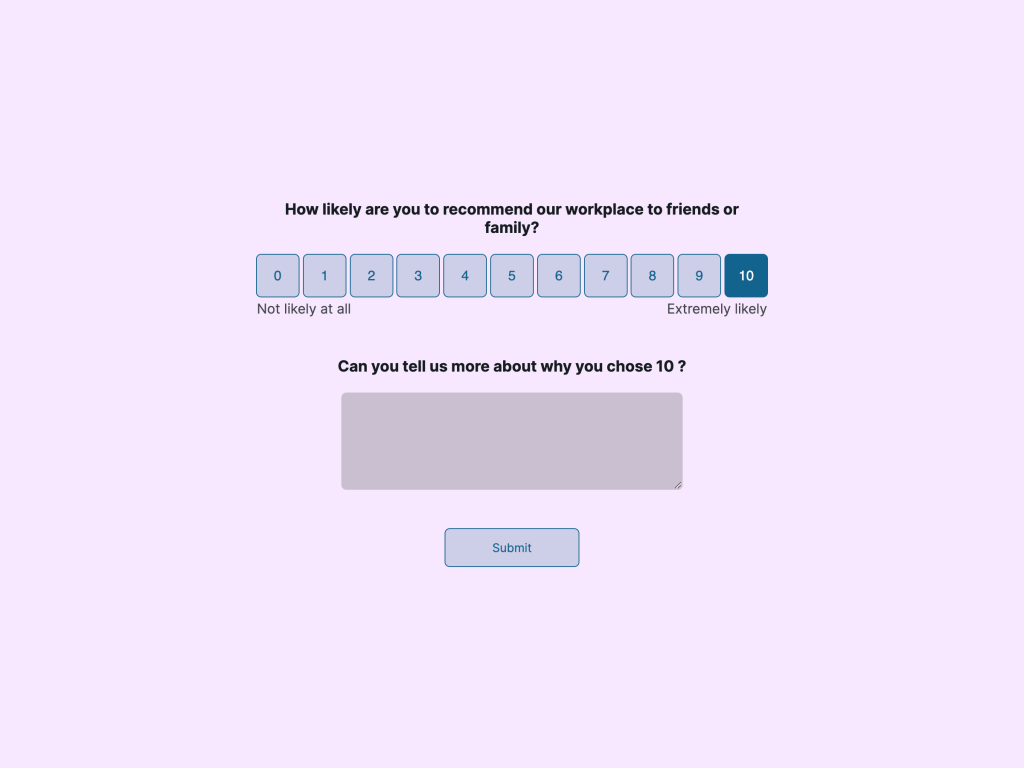
This question, however, has selectable answers, people can only select one of these. Which means I can connect each of these answers to a different outcome.
All I have to do is click the question and scroll down to collect each answer.
Answers 0 to 6 are connected to the Detractor page. These are people who don't have anything to write home about. You don’t want to ask them for a review on a public platform. But you do want to know about their experience. That’s what the open question is for. You capture the feedback, but on your own, internal platform where only you and your team can see it.
Answers 7 and 8 are connected to the Passive page. These people had a good time, but are not super enthusiastic about you. They would give you a 4 start review, not a 5 star one. And we only accept 5 star reviews here, because so are your competitors. I guarantee they have a system like this in place, every major company automates review generation. Anyways, 7 to 8 are happy peeps, keep sending them your newsletter, don’t ask them for a review.
Answers 9 and 10 are connected to the Promoter page. There are your biggest fans! These are the nerds waiting for new products with their credit cards. They will promote your business for you. They will turn your funnel into a flywheel (seriously, watch my funnel vs flywheel video). These are the people who will give you 5 star reviews.
Once you’ve connected each answer to the right outcome, let’s look at the outcomes. Detractors and passives get a quick thank you note and that’s about it. Promoters will get an incentive to leave a review on a platform of your choice. This button is here for you to link to TrustPilot, G2Crow, Amazon… whatever platform you’re focusing on.
Step 3: Preview & Test
To make sure your funnel is working, fill it in yourself a couple of times. If something’s not connected right, you want to know about it before your customers do.
Click “design preview” to check out your design on desktop and mobile. Click “try it” to actually take the survey. “Try it” mode shows you the survey the same way your customers will see it.
Step 4: Publish
Once you’ve tested your survey, you’re ready to hit the “publish” button. You’ll get a chance to tweak the URL, set up automated emails, social sharing text and image and add tracking on Facebook and Google.
Don’t worry, you can come back to this page later and change the settings even after your survey is live.
Step 5: Share It with the World
Hitting “publish” one last time will put your survey live. Yay! You will get a link, a short link, a QR code to use it in print and an embed code to use it on your website.
If you’ve never embedded anything in your website, this is the perfect thing to start with. Here is the embed code and here’s is where I can edit how the embed behaves. See how these are 2 separate places? That’s so I can’t mess up the code.
I can make the embed narrow or make it cover the whole screen.
That’s up to you.
And that’s it!

