If you have way to many products or notice that your valued visitors struggle to discover the perfect product tailored to their needs, worry not! A splendid solution awaits you in the form of a custom product finder. With this tool, you can ensure a seamless shopping experience for your customers.
In this article, you will learn how to create a product finder tool for your online store without a single line of code. The solution outlined in the article is applicable to all types of e-commerce platforms, including Magento, WooCommerce, and Shopify.
What is a Custom Product Finder?
A product finder tool, also known as a product recommendation tool, is an application used by online businesses to help customers find products that match their specific needs.
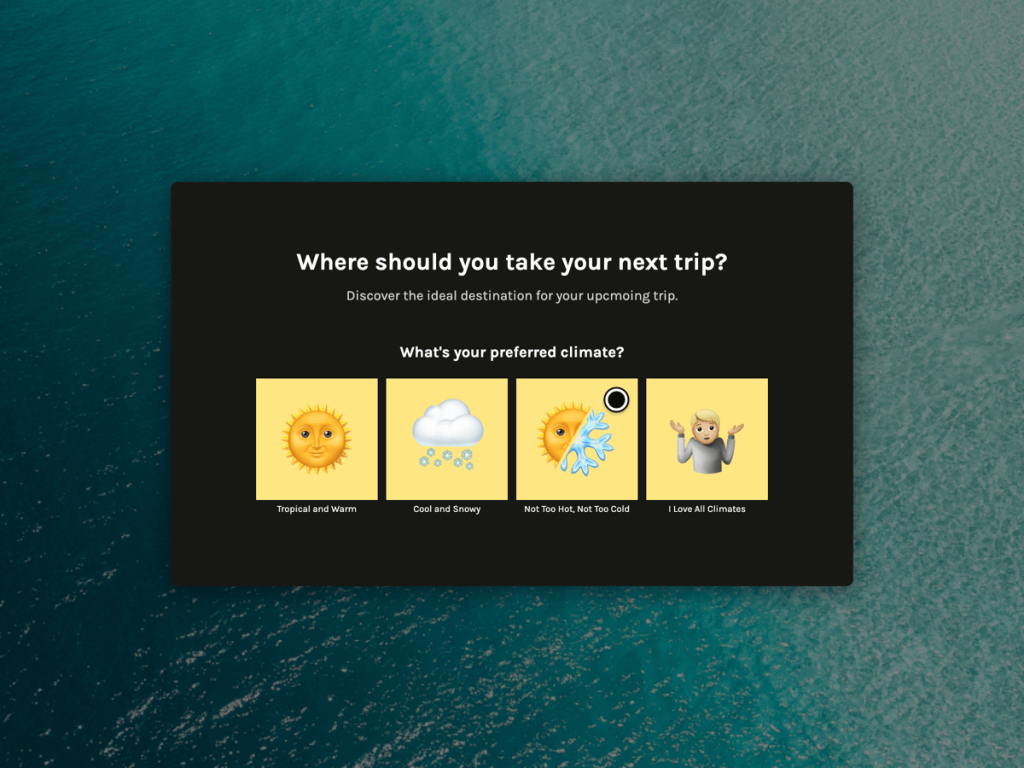
To put it simply, you can ask your visitors a series of questions and, based on their provided answers, recommend the right product. Here are the kinds of simple questions that the Tado° company asks in their product finder to assist their visitors in choosing the right thermostat for their home:

You can also create a product finder tool for your online store and provide a personalized customer experience. Keep reading to make this happen.
Create a Product Finder: Step-By-Step Tutorial
Tado° created their product recommendation tool with a no-code builder involve.me. Check out this case study to see how fast the manufacturer solved the challenge of automating the process of assisting customers online.
involve.me is a freemium, meaning you can use basic features and test premium ones for free. Here's how you can create a product finder without technical skills using involve.me:
Step 1: Choose a Template
After creating your account with involve.me, browse through the editable templates and find the one that suits your needs. involve.me offers a wide selection of over 200 templates for creating interactive content, including personalized product recommendations, surveys, quizzes, forms, and custom calculators.
Create A Product Finder
Start with a template code free
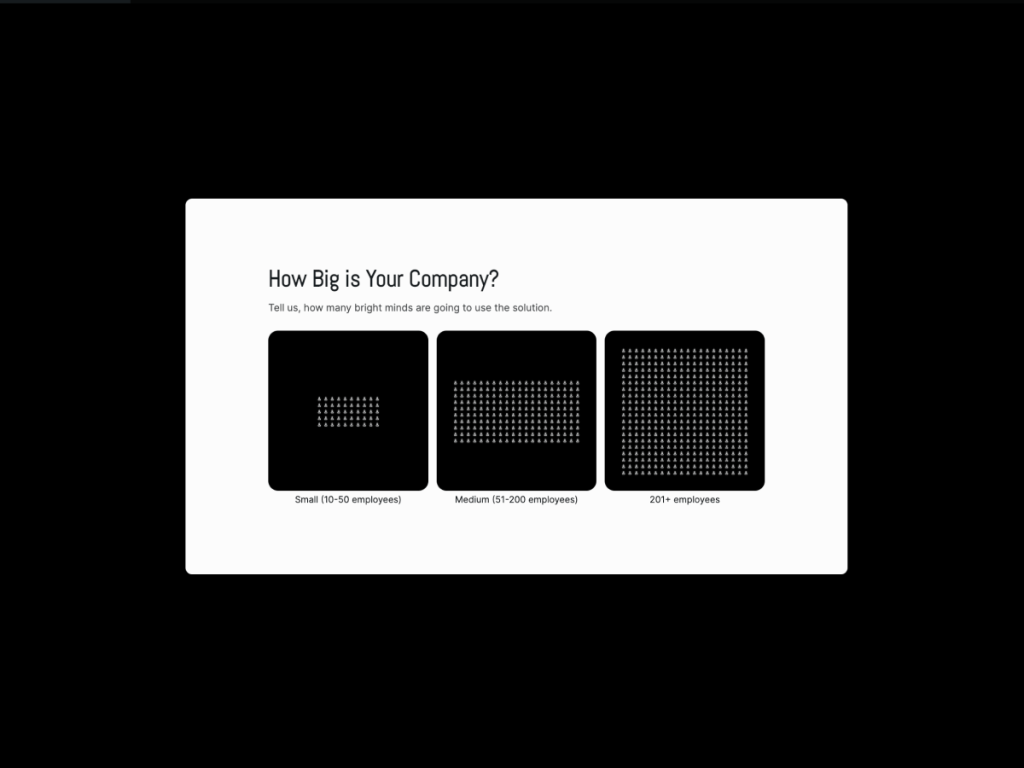
B2B Product Finder Template
Home Insurance Finder Quiz Template
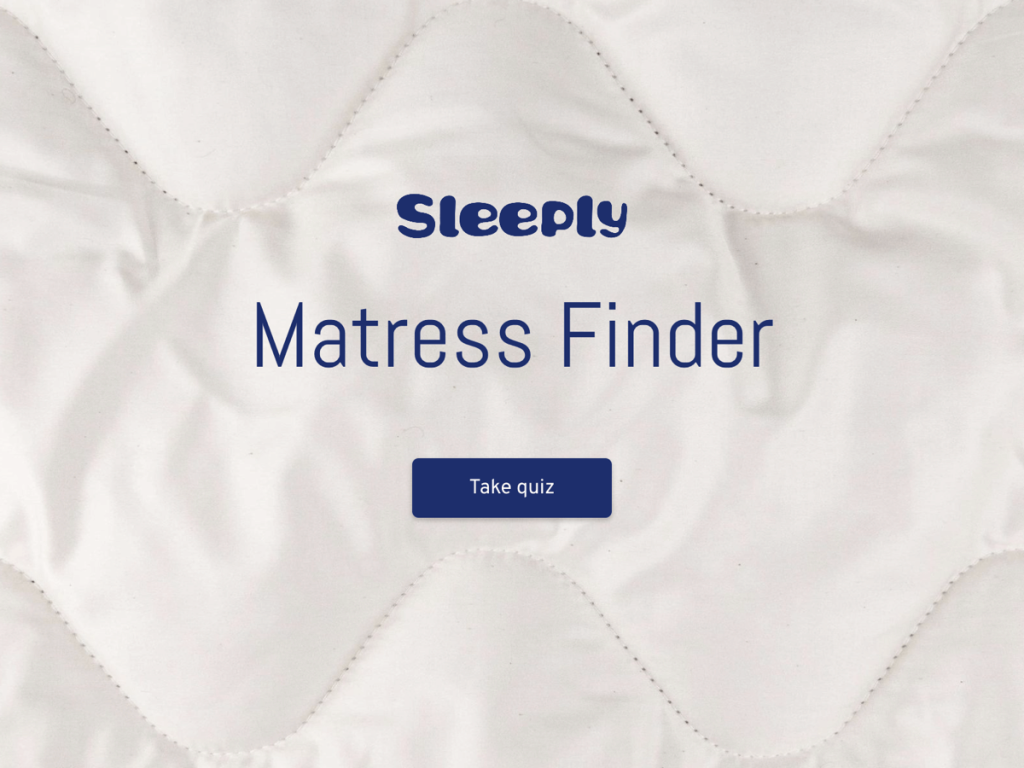
What Mattress Is Best For You? Template
Glasses Recommendation Funnel Template
Step 2: Add Your Own Branding
Regardless of the template you select, you have the freedom to customize it entirely to your liking.
With involve.me, you can add your own colors, logos, content elements, and structure. Making changes is as simple as dragging and dropping elements onto the canvas. Just take a look at the list of content elements on your right side, and then easily place them precisely where you want them in your design.
Step 3: Make the Product Finder Result Pages
Once you're satisfied with the design, move on to crafting the finder content. An unconventional but effective starting point is to focus on the product finder result pages. By doing so, you can better shape your questions with the end goal in mind.
Creating these pages is a breeze – just click "plus" for a blank canvas. Your chosen design is already there, so no need to worry about that. Simply drag and drop elements like a headline for the result name, informative text, and a button to link your product.
Pro Tip: Skip adding product details directly to the result page. Instead, redirect your users to a dedicated page in your online store, where they can find a comprehensive product description and make the payment.
Step 4: Add Your Questions
Now that you have identified the products you wish to recommend, it's time to integrate the "multiple-choice questions" content element into your design. With involve.me, you can ask questions using GIFs and images as well, just like this example:
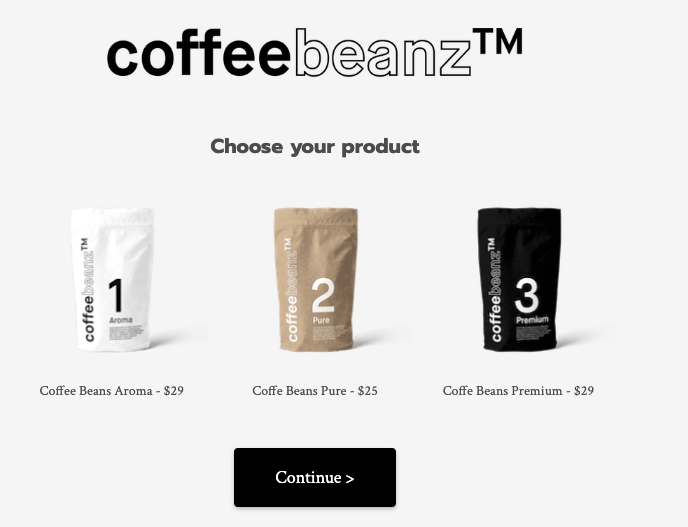
To do that, select the "Image Answer" content element and upload your own images. Opting for visual answer options in your product finder can significantly enhance engagement.
Step 5: Create Outcomes
Bring your questions and answers together seamlessly. Just follow these simple steps: click on your desired question, navigate to "map to outcome," and select the appropriate outcome.
ProTip: To keep things organized, give each outcome page a name, so you can easily understand the connections you've made.
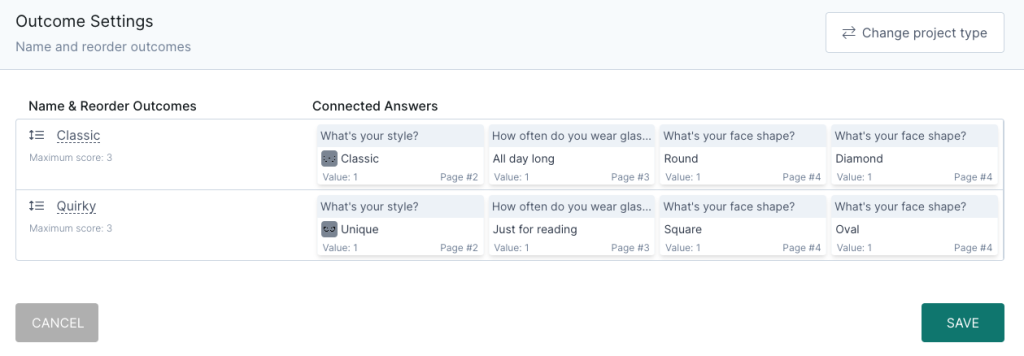
Here's how you can name your outcome page. Simply click on the "Edit" icon and type the name you want.
For most users, connecting questions and outcomes is straightforward. However, if you seek a more precise outcome display, you can add points to your answers. By selecting "individual score & calculation," you can assign higher points to more critical questions and even include negative points for specific answers.
While not everyone may require this level of customization, it's good to know that this option is available if you need it for crafting killer customer journeys.
Step 6: Preview Your Product Finder
With involve.me, rest assured that your product finder will function seamlessly on both mobile devices and desktops.
However, it's essential to pay attention to the finer details, such as the background, to ensure it appears exactly as you want. Take a moment to preview your product finder on mobile to confirm that the background displays as desired.
All looks good? Then click "Try it" to test your product finder application and see how all elements will be displayed to your visitors.
Connect With Buyers Using Product Finder
After finding the ideal product, your potential buyers might have follow-up questions, and it's important to have the option to connect, especially in the case of retail and B2B sales.
If you want to connect prospects with sales reps, you have two options. You can either collect contact information such as name, email, phone number, zip code, etc., by using the "Contact Form" content element.
Alternatively, you can choose the "Schedule Appointments" element and add your preferred calendar of choice for easy booking.
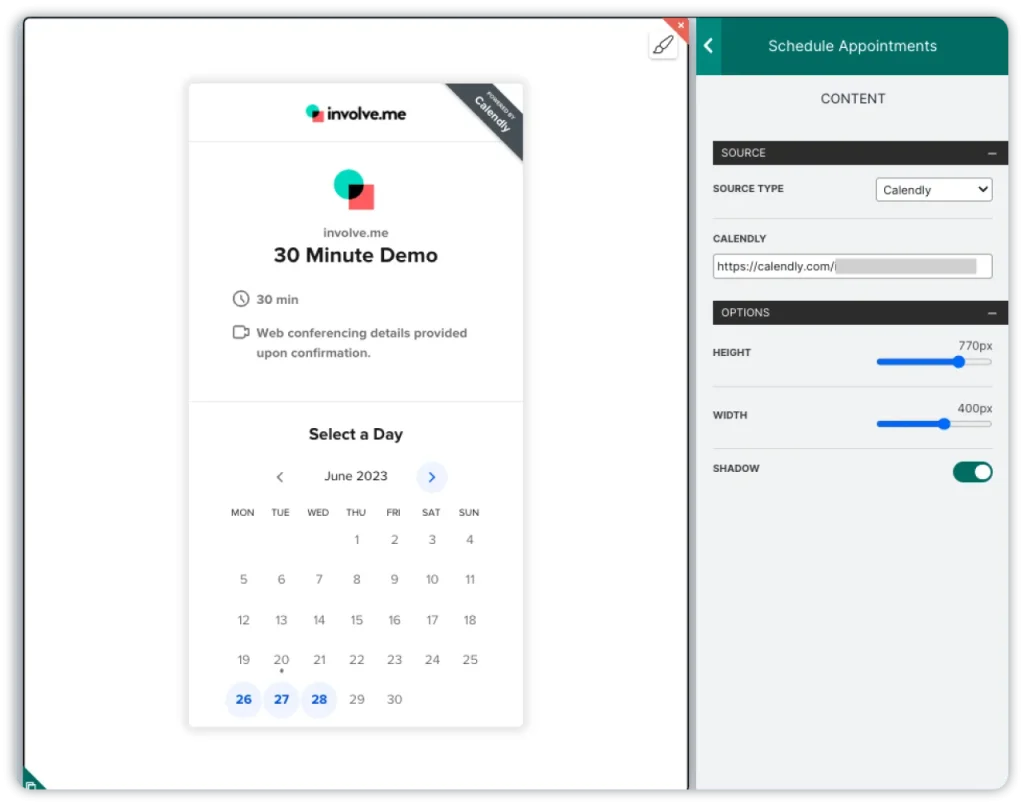
involve.me now supports these calendar sources:
Calendly
Savvycal
Cal.com
Hubspot
Youcanbook.me
Acuity Scheduling
Simplybook
Pro Tip: Allow potential customers to personalize the meeting according to their interests. Incorporate form fields for pre-demo questions to gather additional product requests before the session.
Analyze Data in Product Finder
E-commerce product finders serve a dual purpose—they not only help customers discover their ideal products but also gather valuable data on buyer preferences. This data becomes a valuable resource in improving your product offerings.
You have the option to store data directly within involve.me or integrate with various apps of your choice, including CRMs, Google Sheets, Trello, and Notion, among others. Find the complete list of integrations here.
Pro Tip: With involve.me, you can pinpoint the exact question at which users tend to close the tool. Analyzing this data can help you identify patterns and make necessary improvements
Accept Payments in Your Product Finder
If you prefer not to guide shoppers to other pages with your products, there's an alternative method to create a smoother shopping experience. Simply integrate the payment processor directly into the product finder. By doing so, your visitors can make purchases seamlessly, right within the finder itself.
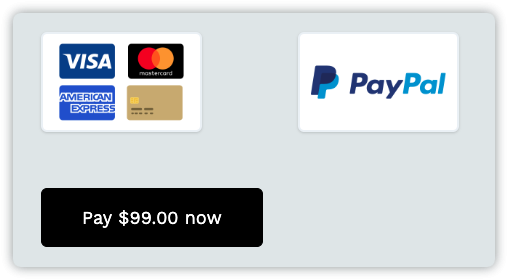
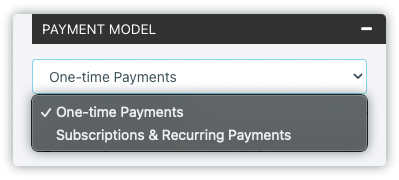
Users can make one-time payments with Paypal, Stripe, Square.
Pro Tip: Enable recurring payments directly within your product finder for added convenience. To make this possible, ensure you set up recurring payments on your payment platform beforehand.
The Final Words
A product finder is a powerful tool designed to enhance customer satisfaction and alleviate the burden from customer service teams.
Automating assistance, meeting scheduling, payments, and various other tasks can significantly improve your online store's efficiency and free up more resources to focus on other crucial matters.
Embrace the potential of automation and interactive content to elevate your online store's performance and deliver a more seamless and delightful shopping experience to your customers. Start by finding the right template:
Create Surveys, Forms, Quizzes
Start with a template code free
Life Insurance Calculator Template
Big Five Personality Test Template
Find My Payment Plan Funnel for Software Template
Google Business Review Funnel Template
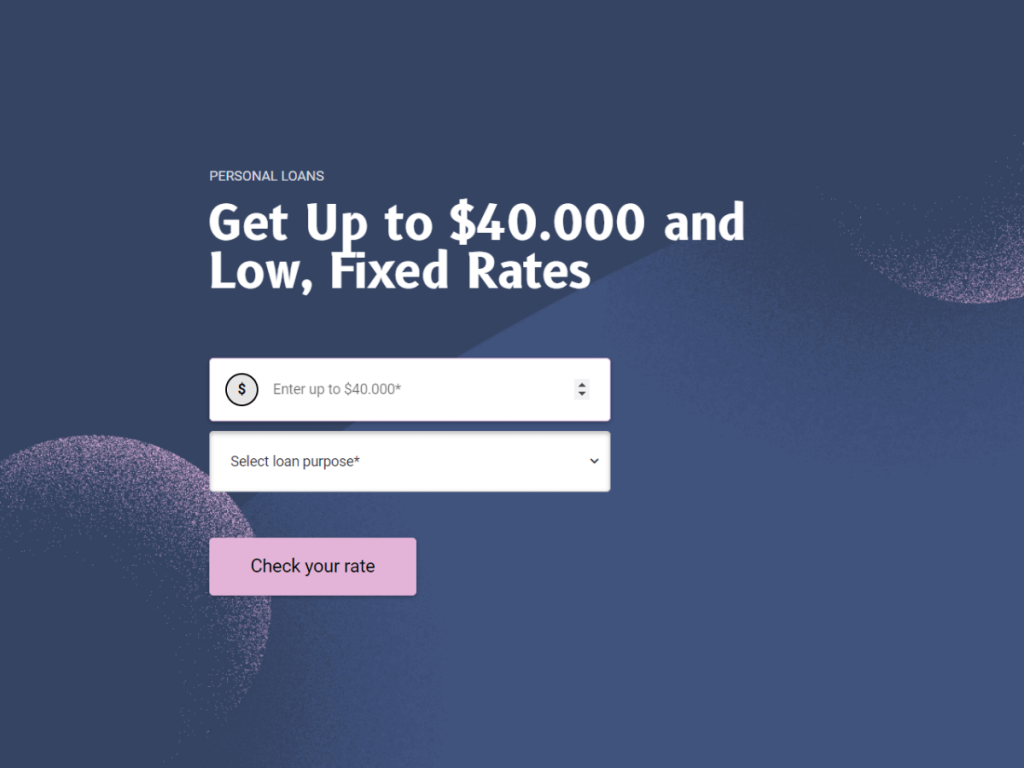
Personal Loan Offer Template
Find Your Next Travel Destination Quiz Template


