Creating engaging surveys is crucial for gathering valuable insights from your customers. Design surveys that integrate with your company's website and provide a smooth user experience.
Whether you're an experienced marketer or new to survey creation, this article will guide you through the process of creating and embedding a survey into your company's website. We'll cover everything step-by-step, including using pre-designed templates, the editor, and the AI-powered survey maker tool.
What is an Embedded Survey? [Example]
An embedded survey is a survey seamlessly integrated into a web page or digital platform, allowing users to complete it without leaving the site. Instead of directing respondents to an external survey link, an embedded survey appears directly within the context of the webpage.
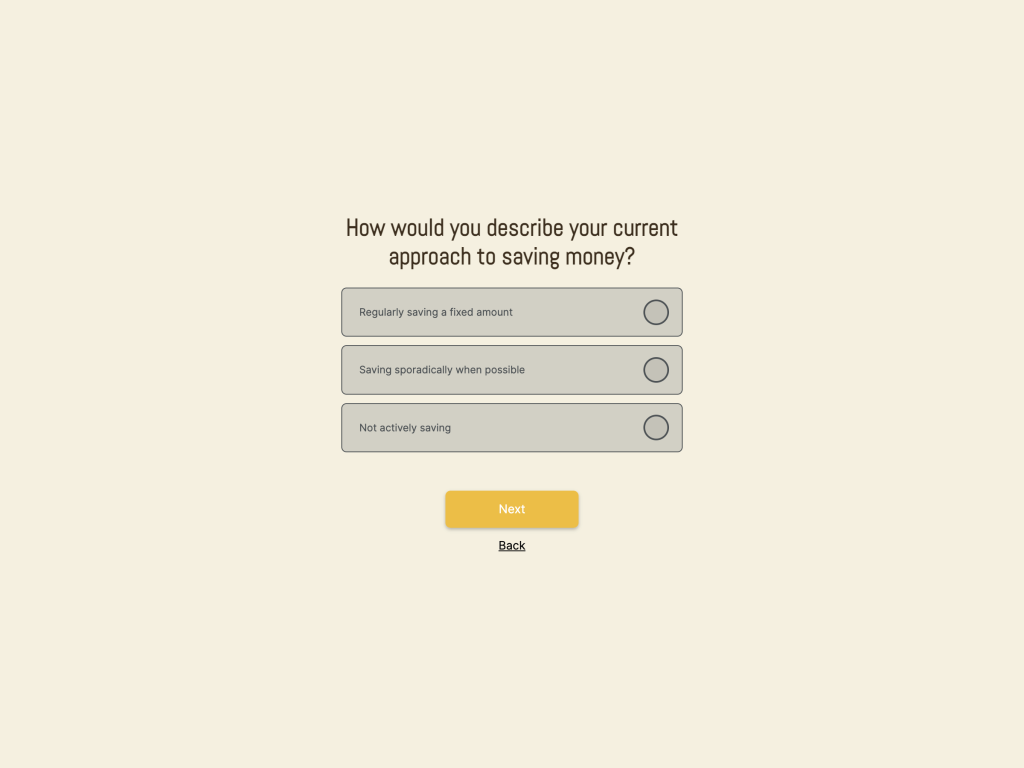
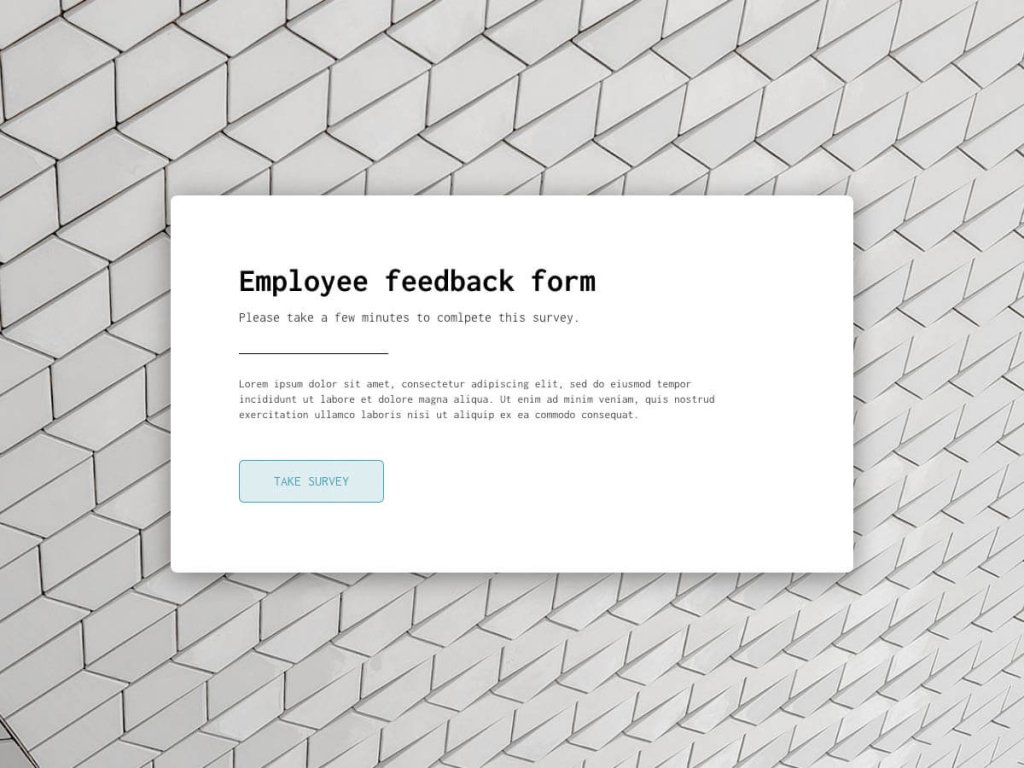
Here's an example of the embedded survey I created for this article:
After reading this article, you'll have the skills to create a similar survey for your company's website, regardless of which CMS your company is using.
Generate a Survey
First thing is to create an online survey that serves your team's goal. To do that, use one of the survey maker tools. These platforms provide pre-designed survey templates and easy-to-use editors to help you create a visually appealing and user-friendly survey without any coding knowledge.
Consider creating a new survey on the spot by using this AI online survey generator:
Create your survey with AI
Just paste your URL & click generate
How It Works:
Enter your company's URL and then specify what kind of survey you need - customer satisfaction survey, post-event feedback, etc. You don't have to specify all your survey questions.The system generates them instantly based on your prompt. Specify your preferred tone - professional, friendly, or quirky - and the tool will adjust accordingly.
At the end you will get the feedback survey that is aligned with your company's website - brand's colors, fonts, and logo. Choose one of the designs and register for an account or log in if you already have one to get the embed code.
There's also a template library where you can find the entire survey ready to be used right away. Check the templates below:
Create Online Surveys
Start with a customizable survey
Finance Portal Onboarding Funnel Template
TrustRadius Review Funnel Template
Rental Real Estate Onboarding Funnel Template
Yelp Review Funnel Template
Monthly Delivery Cancellation Funnel Template
Market Research Survey for Finance Template
Get the Embed Code
Once you've finalized your survey, whether you've opted for one of our pre-designed templates or created a custom survey using our AI tool, simply click "Publish" to obtain the embed code.
Before publishing the project, you'll encounter the project settings where you can conveniently adjust the survey link URL or the project name. You can also opt to send a customized email to survey participants after they complete the survey. To set this up, navigate to "Email Notifications" and select "Send custom email to participants". This feature allows for a personalized touch in engaging with survey respondents.
Another handy business feature is the option for personal data control, which you'll also find in the Project Settings. Here, you can decide whether to prevent submissions from individuals using disposable email addresses or use an email verifier. This helps maintain the quality of lead data and ensures better control over user engagement.
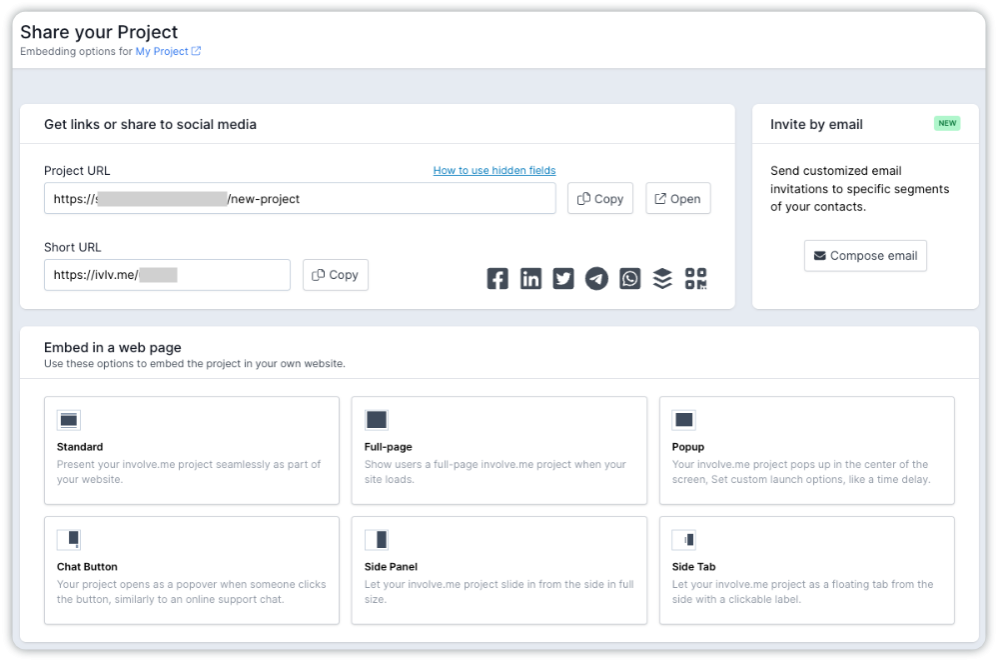
Once you've selected the appropriate settings, simply click the "Publish" button once again. On the "Share Your Project" page, you'll discover the survey URL, ready to be shared via social media platforms or through a QR code.
Moreover, there are additional options available to share survey via email (by sending survey invitation) or embedding surveys into various pages such as a blog post, landing page, or homepage.
Below, you'll find various embedding options including Standard, Full-Page, Side Panel, or Popup. Click on any of these options to preview how the survey appears once embedded. Should you choose to create a popup survey, you can customize the settings to determine when the popup should appear and its size. This flexibility allows you to tailor the survey experience precisely to your preferences.
Follow these guidelines:
Copy the unique embed code.
Log in to your website's backend. This could be a content management system (CMS) like WordPress, Wix, Squarespace, or even direct access to the HTML/CSS files if you're using a custom-built website.
Once you're in the HTML editor, find the place in the code where you want the survey to appear. Paste the embed code you copied from the survey platform here.
After pasting the embed code, save your changes and publish the page. If you're using a CMS, there will be an option to save and publish your changes. If you're working with HTML/CSS files, save the changes and upload them to your web server.
Test all aspects of the survey to make sure it works seamlessly on your website.
Edit the Survey
Once you register a free involve.me account, you will get access to the editor. Here, you can create and edit all kinds of interactive projects like forms, quizzes or surveys from scratch.
To edit your survey, drag and drop content elements from the list on the right. Customize design aspects like background images, button colors, shapes, and fonts to match your preferences. To ensure the best survey experience for your customers , you might also want to change the question types used in the survey.
Take a look at these content elements available at involve.me:
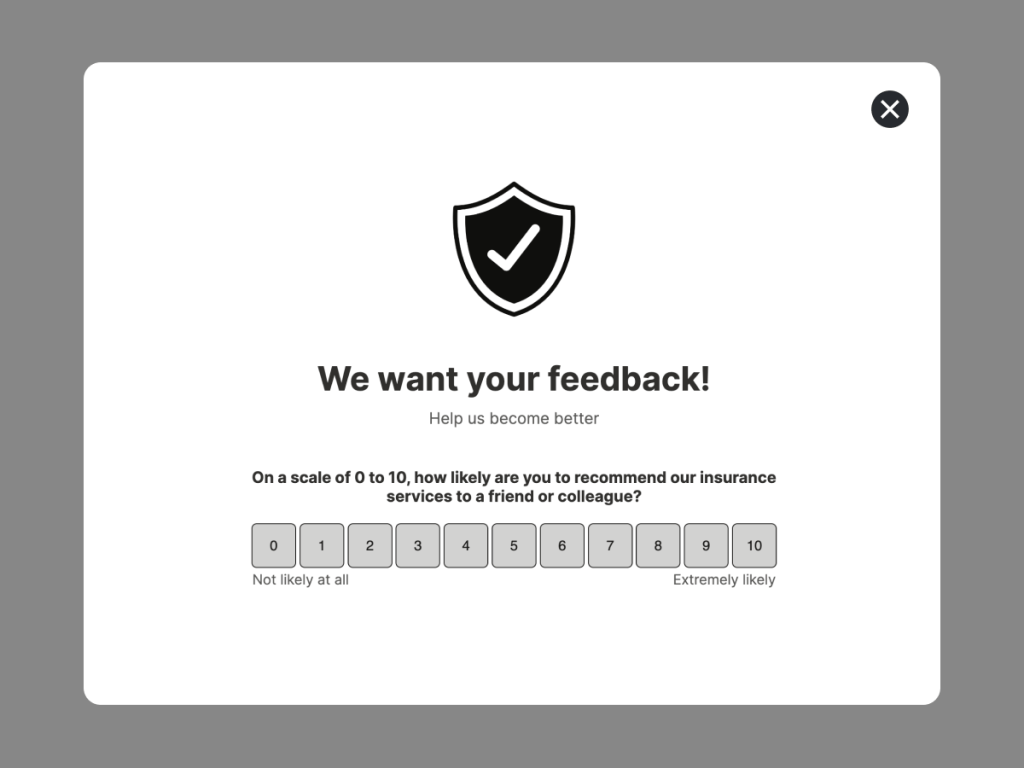
Rating and NPS Score® to measure customer satisfaction score.
File Upload to collect all kinds of files from customers.
Contact Form to gather customer details like a phone number, email address, zip code, etc.
Coupon Code to generate a unique code that can be used by customers for discounts or promotions.
Multiple Choice to provide options for respondents to choose from.
Dropdown Menu for a more organized selection process.
Don't use the same type of question on all your pages. Varying the question formats not only keeps the survey engaging but also caters to different preferences among respondents. Consider incorporating multiple-choice questions, open-ended queries, and rating scales.
Survey Integrations
Integrating your surveys with various tools like Notion, CRMs, Airtable, and others can streamline data management and enhance customer engagement.
1. Notion Integration: Easily transfer survey responses, customer details, and valuable feedback directly into your Notion workspace for centralized organization and analysis.
2. CRM Integration: Sync survey responses with your CRM (e.g., Salesforce, HubSpot) to enrich customer profiles and personalize communication based on feedback.
3. Airtable Integration: Store survey data in customizable databases on Airtable, create contact lists.
4. Other Integrations: Use involve.me's native integrations with Google Sheets, Zapier, Slack, and more to further streamline workflows and create email lists you will later use in the lead nurturing campaigns. Find the list of native integrations here.
Analyze Survey Responses
Analyzing survey responses with involve.me is pretty straightforward. You can either download the results and dig for actionable user insights manually or automate the process with AI features:
AI-Powered Insights: involve.me's AI analyzes responses, generating comprehensive PDF report with key insights. This can save plenty of time and provide accurate feedback for decision-making.
Partial Response Visibility: View incomplete survey sessions to understand where respondents drop off.
Final Words
Creating embedded surveys will help your team engage with your audience, gather insights, and enhance brand's online presence. By following the steps outlined in this guide, you can embed survey into any website, making it easier for visitors to provide feedback and interact with your brand.
Whether you're creating an email survey template to reach your subscribers, implementing a customer service feedback form to improve satisfaction, or designing stunning websites with embedded surveys to captivate your audience, the process remains straightforward and accessible.
Choose the right type of survey that aligns with your objectives to collect responses accurately.
