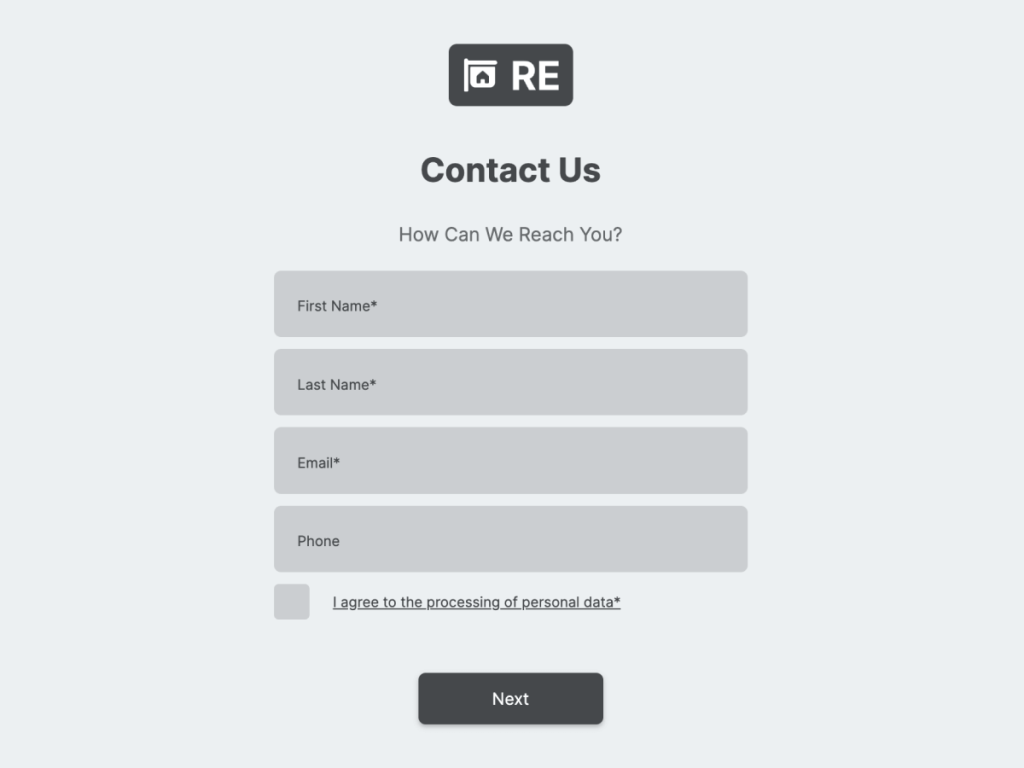
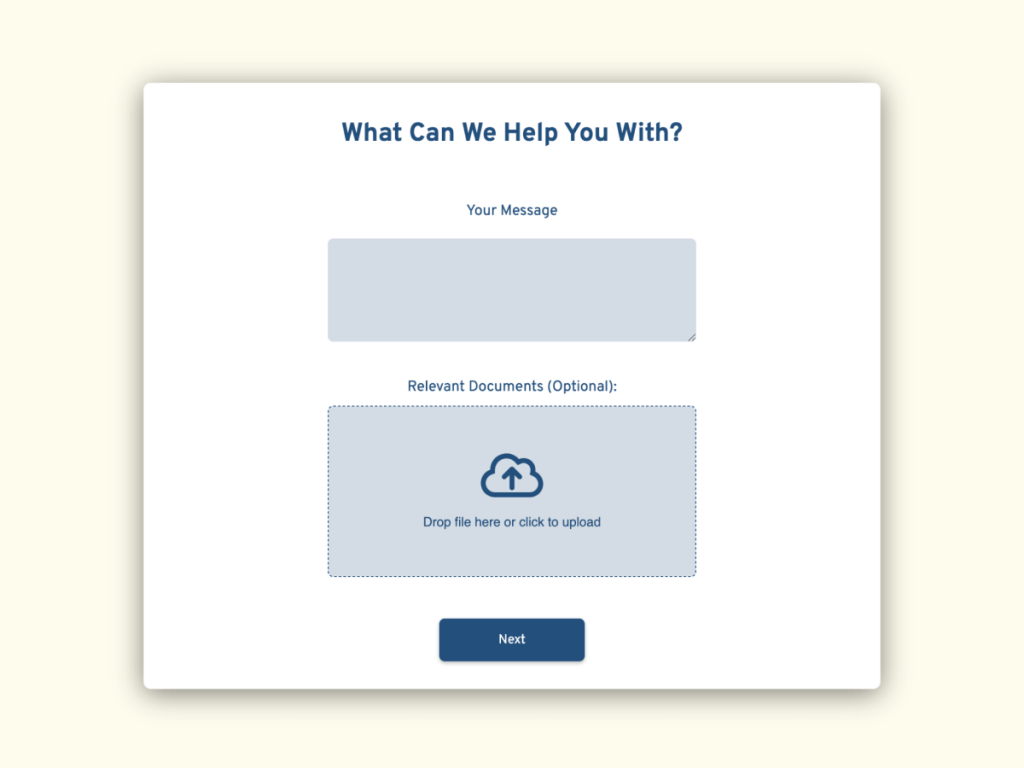
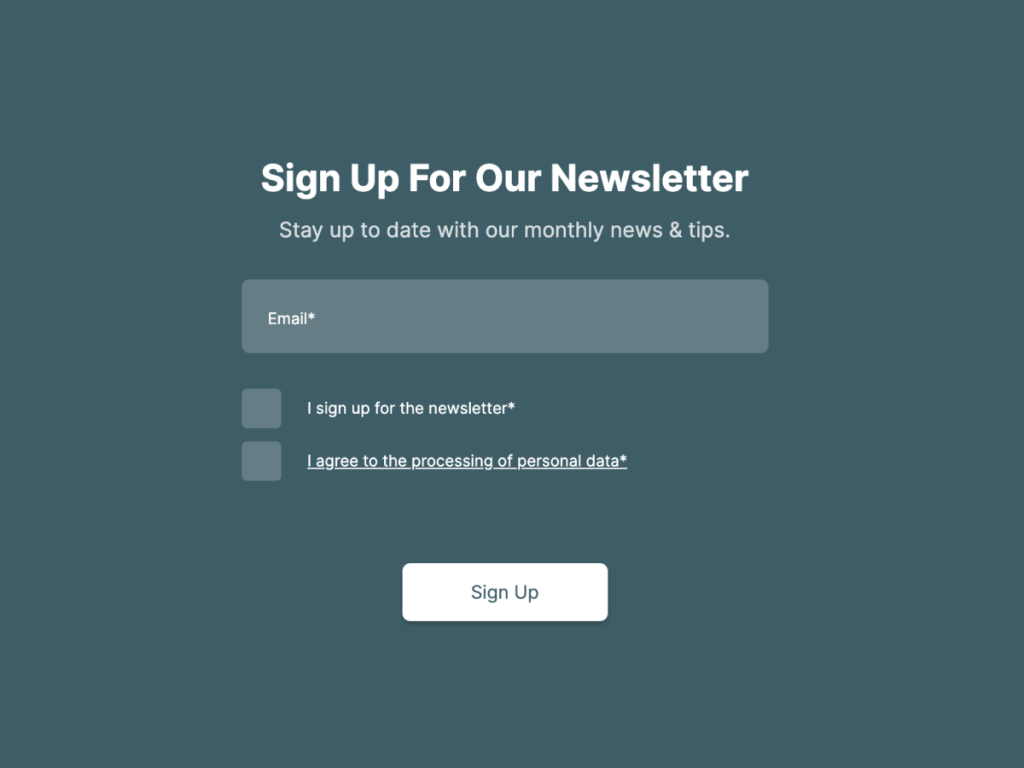
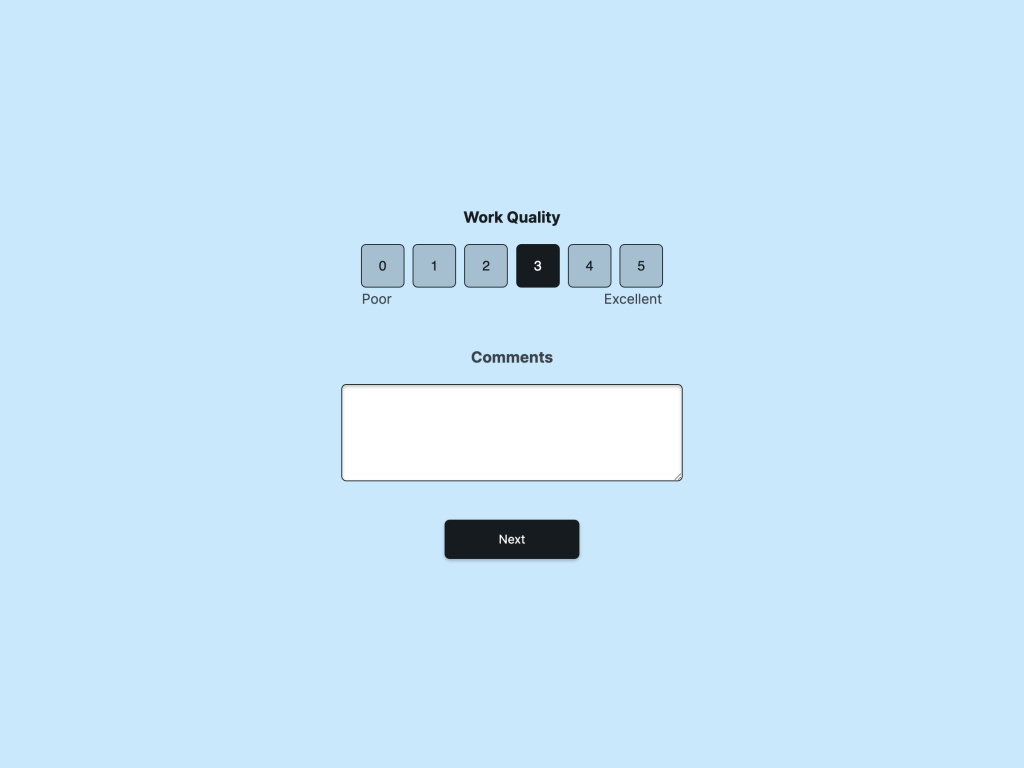
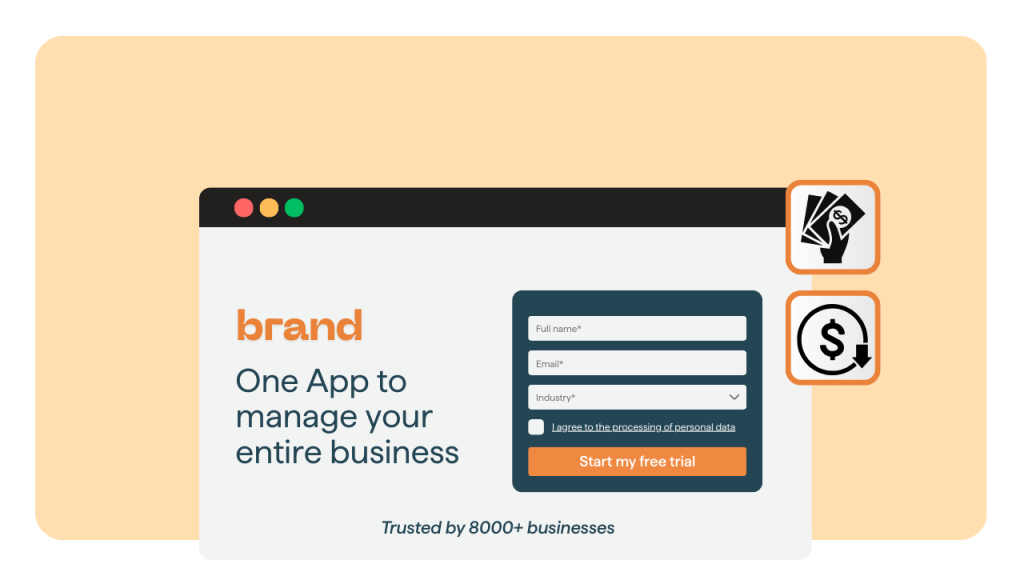
Are you looking to collect customer feedback or offer personalized recommendations in your Shopify store?
Try custom forms!
These are a must-have for any thriving Shopify store.
In fact, a well-designed form can be your golden ticket to collect customer data, increase email list, enhance customer experience, or refine your customizable product offerings.
In this article, we will explore in detail how to effortlessly create attractive forms using a no-code form builder, and then guide you through embedding forms directly into your Shopify store. Let's get started!
Step 1: Prepare Your Shopify Store for Form Integration
It's essential to prepare your Shopify store to ensure a smooth integration process.

Below are some crucial steps to consider:
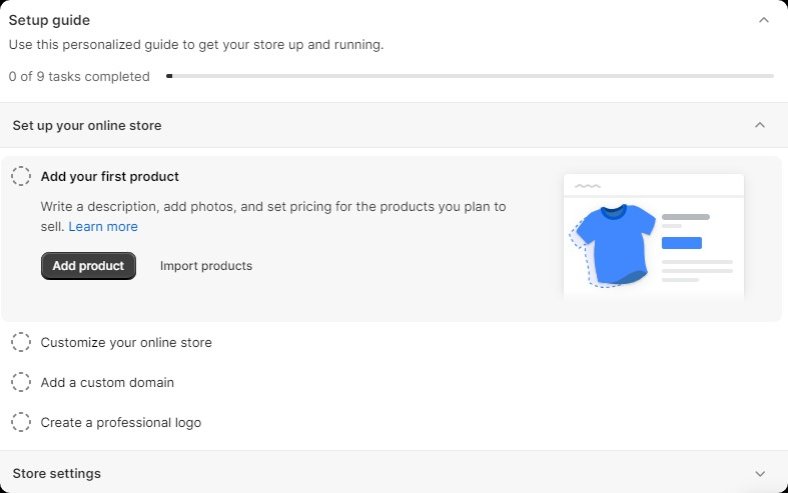
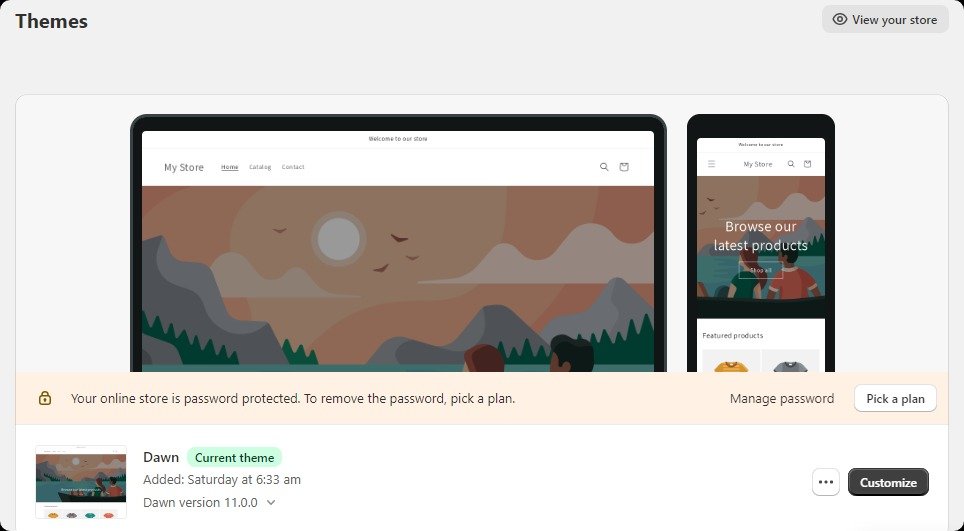
Set Up Your Shopify Store
Your Shopify store needs to be up and running. Make sure you've completed all the basic setup steps, such as:
Selecting and customizing the theme, possibly tweaking the theme code
Adding product images
Setting up payment gateways
Configuring shipping options
Know Your Target Audience
Identify your target audience's needs and preferences, so you can tailor your form fields and design features to be as effective as possible. Take your time to:
Conduct customer surveys
Analyze your website traffic
Study customer reviews and feedback
Determine the Purpose of Your Form
Having a clearly defined purpose will serve as a compass, directing the design, choice of question types, and optimal placement of your form within your Shopify store.
Here are some questions to guide you:
Do you want to get feedback?
Do you aim to collect email addresses?
Is it for collecting data on user behavior?
Will the form be used for personalized product recommendations?
Step 2: Design Your Own Form
After preparing your Shopify store for form integration, the next step is to actually create the required form type. I will use involve.me, a no-code platform with powerful features, designed to simplify this process. Its drag-and-drop user interface helps to create highly customizable forms without the need for any technical knowledge.
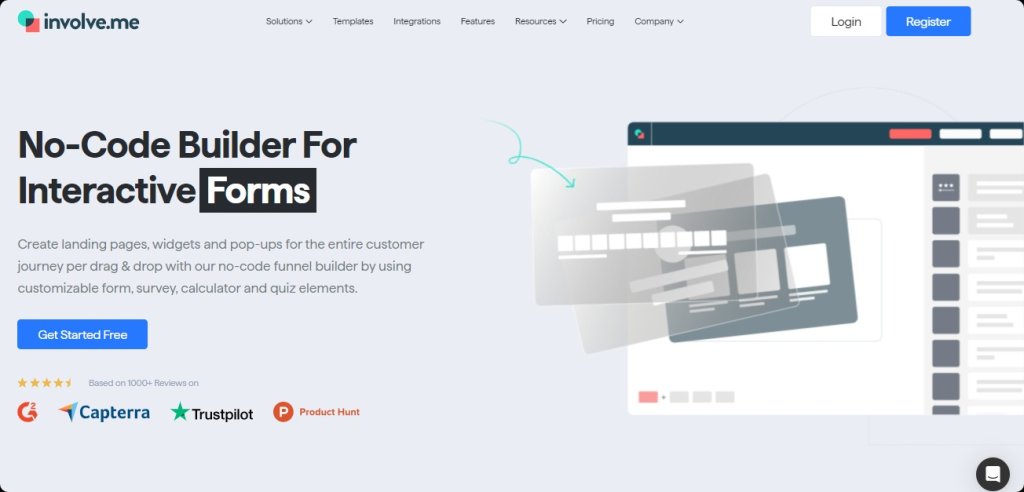
With involve.me, your options aren't just limited to basic forms. You can create:
Product finder quizzes
Different types of forms (buying forms, custom order form, payment forms, subscription form, customer registration forms, customer contact form, custom checkout forms, customer feedback form, customer service form, customer engagement form, appointment booking forms)
And much more, giving you a wide array of possibilities to engage with your customers.
Choosing the Right Template
involve.me offers a variety of templates that are designed to suit different ecommerce business needs. So, identify your form's purpose and choose a template that goes with your business strategies.
Create Your Own Online Forms
With One Of Our 300+ Templates
Event Sign-Up Form For Online Magazines and News Websites Template
Attorney Referral Form Template
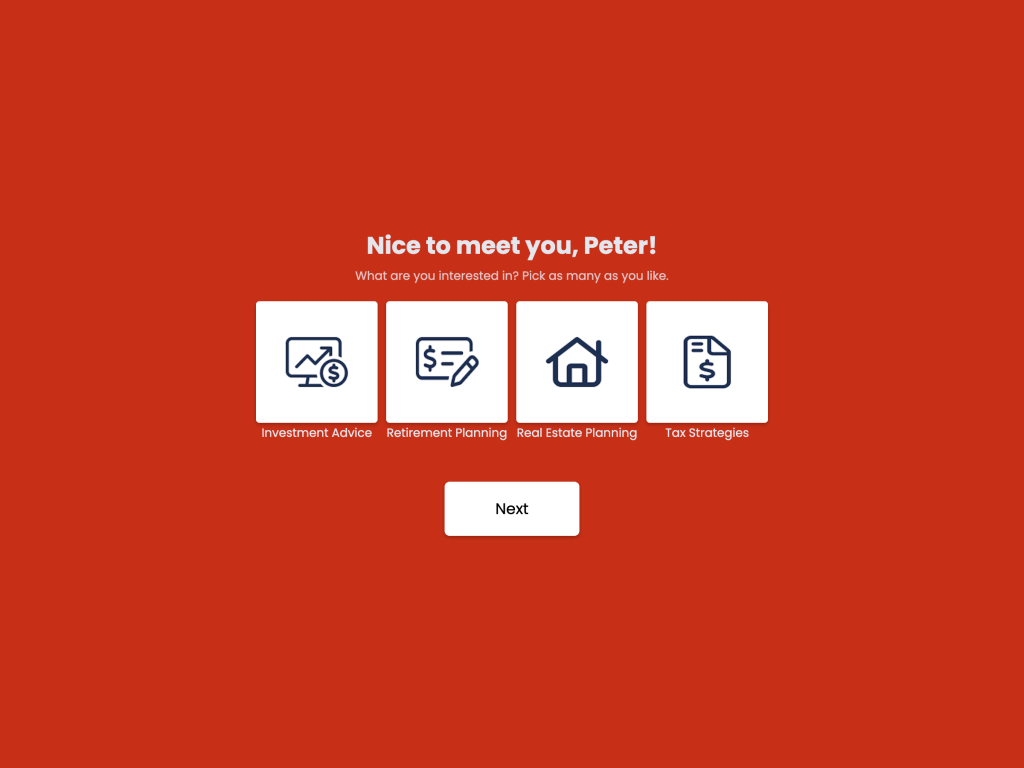
Financial Advisor Appointment Form Template
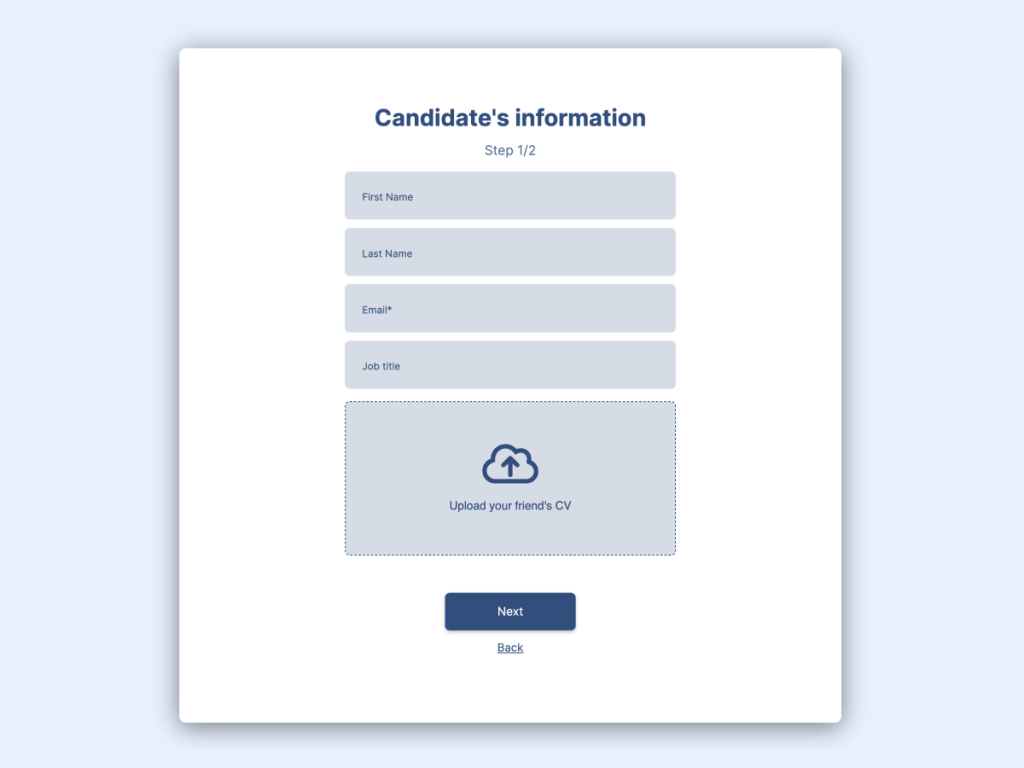
Employee Referral Form for Software Template
Event Sign-Up Form Template
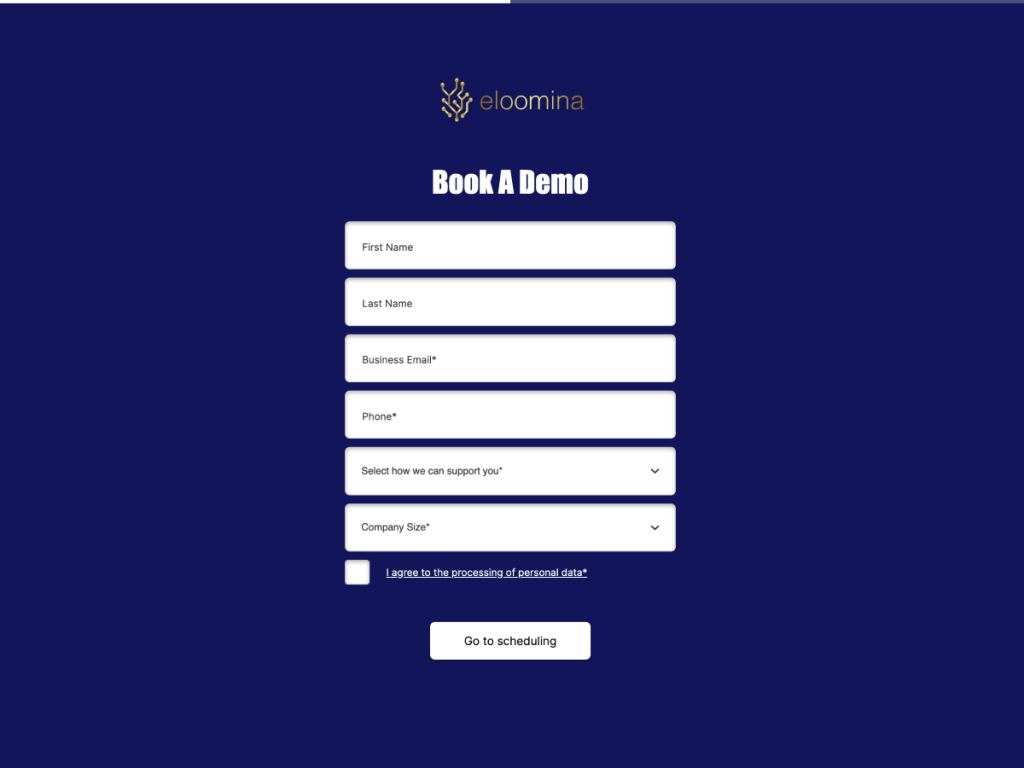
Demo Booking Form for Software Template
Customizing the Template
Once you've selected a template, it's time to make it your own by using content elements, customization options and advanced features.
Design: Change the background color to match your brand and add logos or other visual elements.
Questions: Add or remove questions based on what you need to find out from your audience. You can also use involve.me's conditional logic to make your form more interactive.
Actions (e.g: email subscription): Set up automatic email responses or actions upon form submission, like adding an email to your mailing list or triggering a welcome message.
Saving and Publishing
Once you’re satisfied with your form, save your project and publish it.
Use AI Form Generator
You can also use the involve.me AI form generator to quickly create online forms. Simply provide a prompt to the AI, and it will generate your forms within seconds.
Create custom forms with AI
Just paste your URL and click generate
Step 3: Access the Form Embed Code
Now that you have created and published your form, it is time to embed it into your Shopify store.
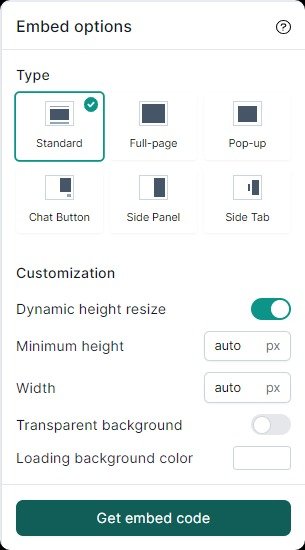
Go to the 'Share and Embed' section within your app dashboard and choose your embedding method: involve.me offers six distinct ways to embed your form:
Standard, Full-Page, Pop-Up, Chat Button, Side Panel, and Side Tab. Each method offers a unique interaction style for your website visitors.
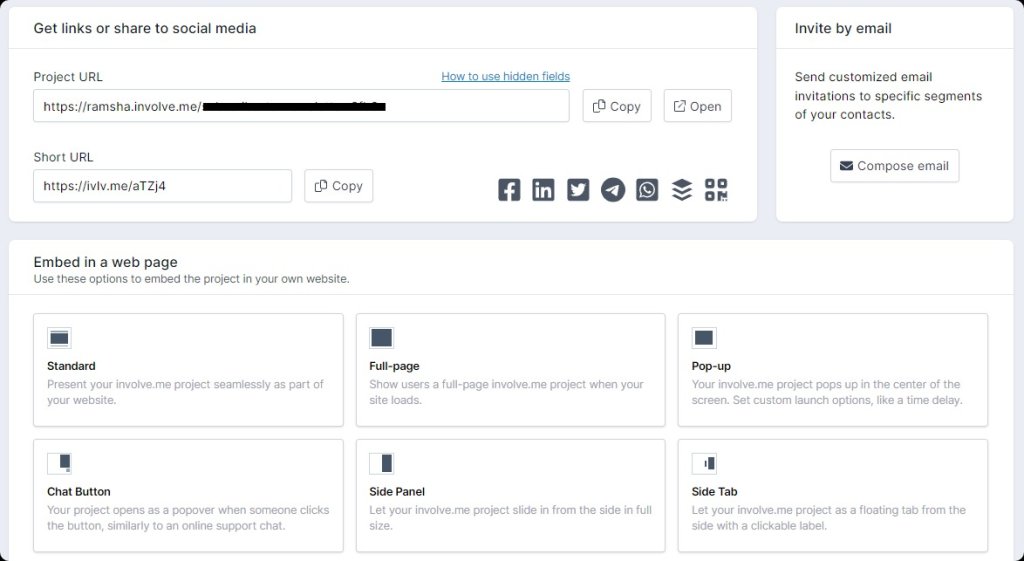
For the purpose of this guide, we'll focus on the 'Standard' embedding method, which is the most commonly used and is ideal for integrating the form within specific pages or posts.
Select the 'Standard' option within the 'Share and Embed' section.
Then, click on the 'Get Embed Code' button.
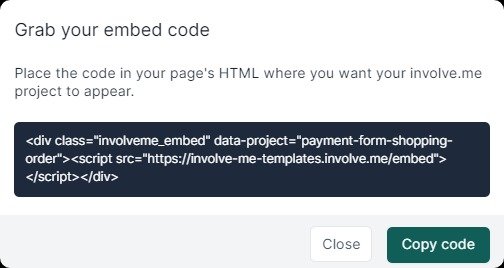
A code snippet will appear on your screen. Simply copy this code.
Step 4: Embed Form to Your Shopify Store
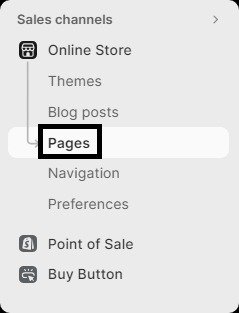
Sign in to your Shopify store and head over to the 'Online Store' category in the dashboard's sidebar.
Under this section, you'll see an option labeled 'Pages.' Click on it to proceed.
Browse through your list of pages and click the one where you'd like to embed your interactive form. This action will open up the page editor.

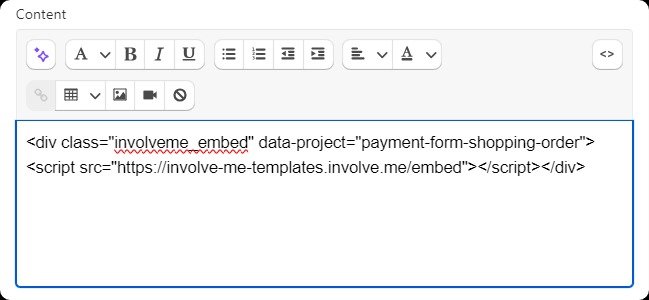
In the page editor, find the 'Show HTML' icon at the far right among a group of other icons.
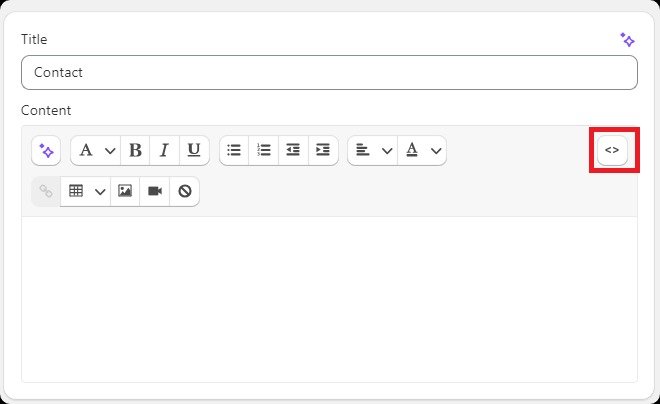
Once the HTML box appears, paste the form code you copied earlier from involve.me dashboard.
Pro Tip: For pages with pre-existing content, add the embed code at the point where you want to display the form.
Remember to hit the 'Save' button at the top of the page editor to lock in your changes.
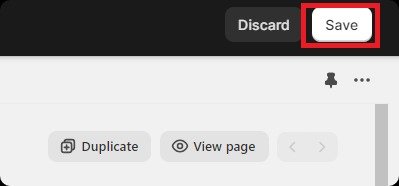
Finally, click on 'View Page' to see your newly embedded beautiful form in action.

Make sure it appears as you intended, and congrats, you are done!

Final Words
Create dynamic forms from scratch or use customizable templates and fuel your business growth with involve.me's user-friendly platform.
Integrate these tailored forms easily into your Shopify App store to boost user engagement and collect insightful data. The ease of integration makes this a must-try feature for anyone serious about growing their ecommerce business.
So, don't miss out on this strategic advantage. Create and embed your forms today!

